As a
Tinker, there are a few things you need to learn in order to maximize your
efficiency.
- Shift-queueing
the Blink Dagger
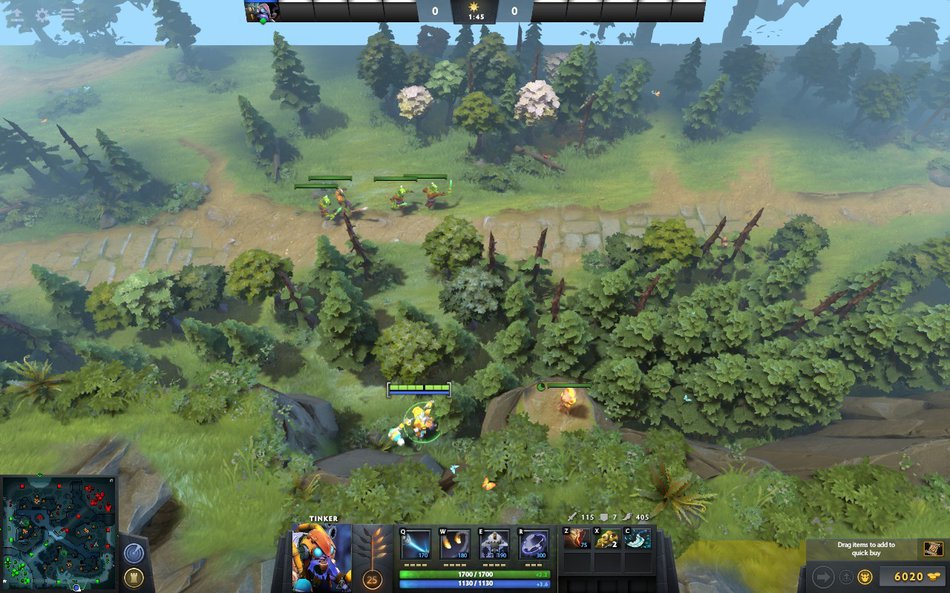
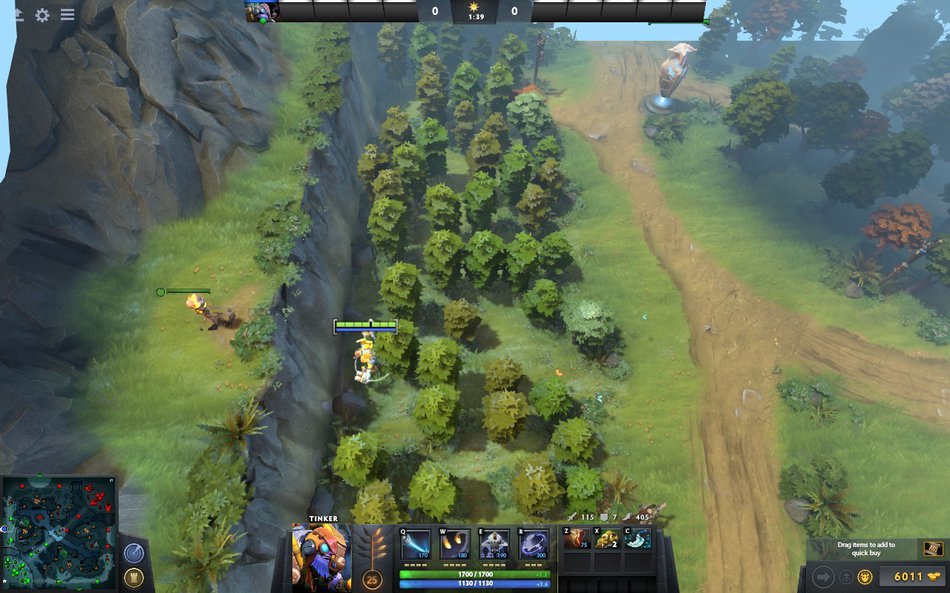
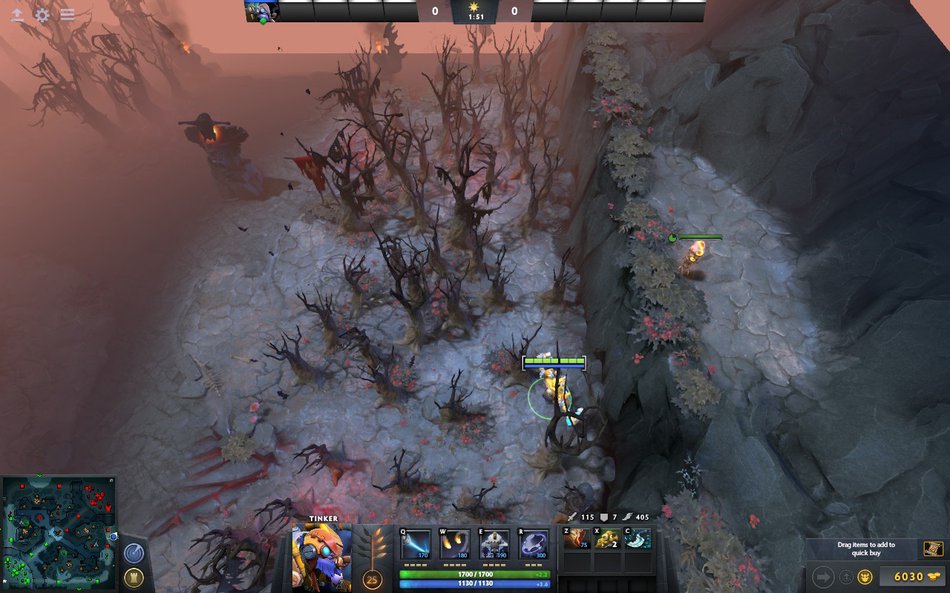
When you
teleport to a creep with Travels, you always want to shift-queue your Dagger
somewhere in the trees. Shift-queue (for those who don’t know) is done by
holding Shift and using the Blink Dagger while you’re teleporting with Boots of
Travel – that order will be executed as soon as you teleport to the creep. This
is a very important thing to do as you never want to show on the map for longer
than necessary.
There are
heroes who can catch you even if you shift-queue the Blink Dagger if they deal
damage to you instantly when you teleport and disable it. Examples are heroes
like Weaver (staying with Shukuchi on top of your creep), Windranger/Lina/KotL/Magnus/Puck
(using a flying projectile at the same moment your teleport finishes), Zeus
(using ult a split-second before you teleport), Pudge (Rot), Clockwerk (Cogs), Void (Chronosphere).
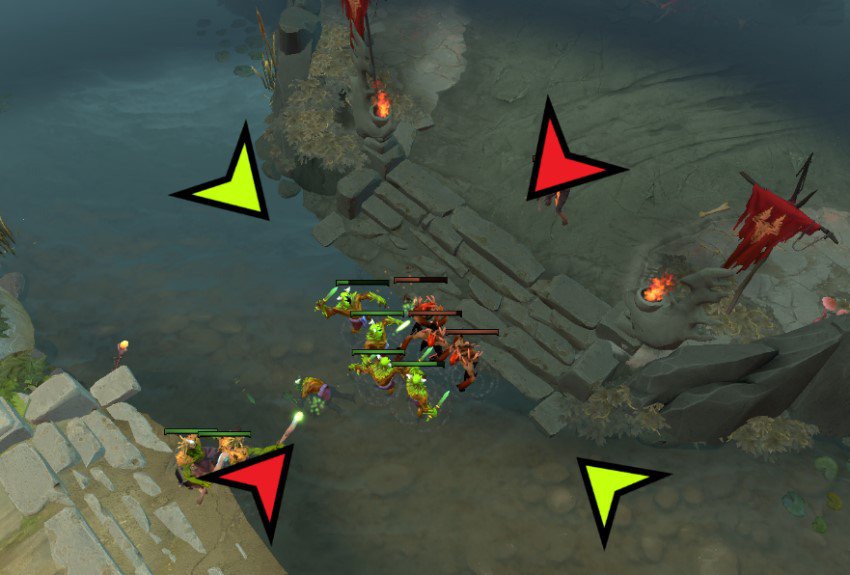
Against
such heroes, if you’re ever in doubt that they will attempt to kill you, start
teleporting and then cancel it in the last moment – if there are heroes waiting
for you, you will see it. If nothing happens, you can Rearm and go again.
You can
drop some of your mana items on the ground before you use Soul Ring so you can
gain more mana. That will make your mana pool lower and Soul Ring’s
effectiveness will increase proportionally to the amount of mana you get when
you pick up your items again.
The combo
you can do is: Bottle -> Rearm -> Shift-queue drop items -> Bottle
-> Soul Ring -> Pick items -> Teleport. Of course, try to execute it
only if you’re in a safe position, i.e. your fountain.
Once you
have more items, you don’t want to sell your bottle. Keep it in your backpack
and when you’re at the fountain, switch
it with a mana item (to lower your total mana pool) and use it to regenerate
faster. If you’re out of mana, you can drop your other mana items on the ground
as well. While fountain regenerates %HP/Mana, Bottle always regenerates a fixed
amount so it will be most effective when your total mana pool is as low as
possible.
- Rearm
refreshes a disabled Blink Dagger
That means
that even if you’re being hit, you should not panic. In some cases, you will be able to Rearm and then
instantly blink before the enemies hit you after the Rearm. This is done easier
if you have a quick cast key for the
Blink Dagger as you will only need to press one button.